Want to recreate the famous North Shore Hawaiian shrimp truck cuisine? Scroll to get a tasty Hawaiian Garlic Shrimp recipe that is sure to knock your socks off!
This Hawaiian Garlic Shrimp recipe contains affiliate links which means if you purchase something from one of my affiliate links, I may earn a small commission that goes back into maintaining this blog.
If you’ve ever been to Oahu’s North Shore, you most certainly know about their shrimp truck scene. People wait in line for hours to get mouthwatering shrimp cooked Hawaiian style on the side of the road.The first time we went, we stood in line for an hour and then it took another 40 minutes to get our food. But, it was still worth it!
The Hawaiian garlic butter shrimp was so flavorful and tasted so good with a bit of hot, sticky rice.
While we can’t be in Hawaii every day, we can try to recreate some of the flavors at home. This Hawaiian shrimp truck recipe is pretty easy to make and doesn’t require too many ingredients.
And check out my other Hawaii recipes! 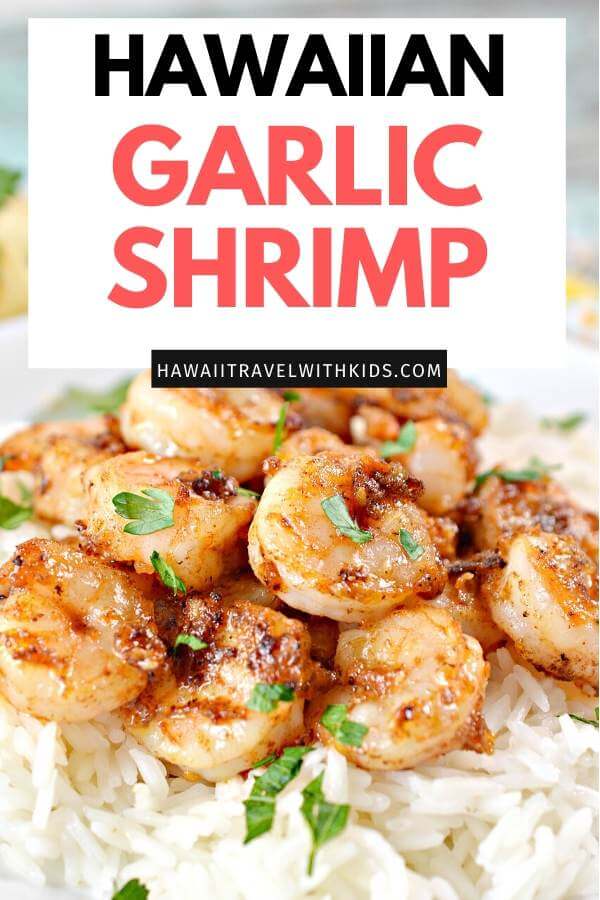
Hawaiian Garlic Shrimp Recipe
Prep Time: 15 minutes
Cook Time: 15-20 minutes
Servings: 5
Hawaiian Garlic Shrimp Ingredients:
- 1 ½ lbs. Medium shrimp
- 3 Tbsp. Flour
- 1 ½ tsp. Paprika
- Salt and pepper to taste
- 2 Tbsp. Olive oil divided
- 8 Tbsp. Butter unsalted and divided
- 6 tsp. Minced garlic
How to Make this Hawaiian Garlic Shrimp Recipe:
- Place 1 tablespoon of the olive oil and 6 tablespoons of the butter in a large skillet over medium heat on the stove.
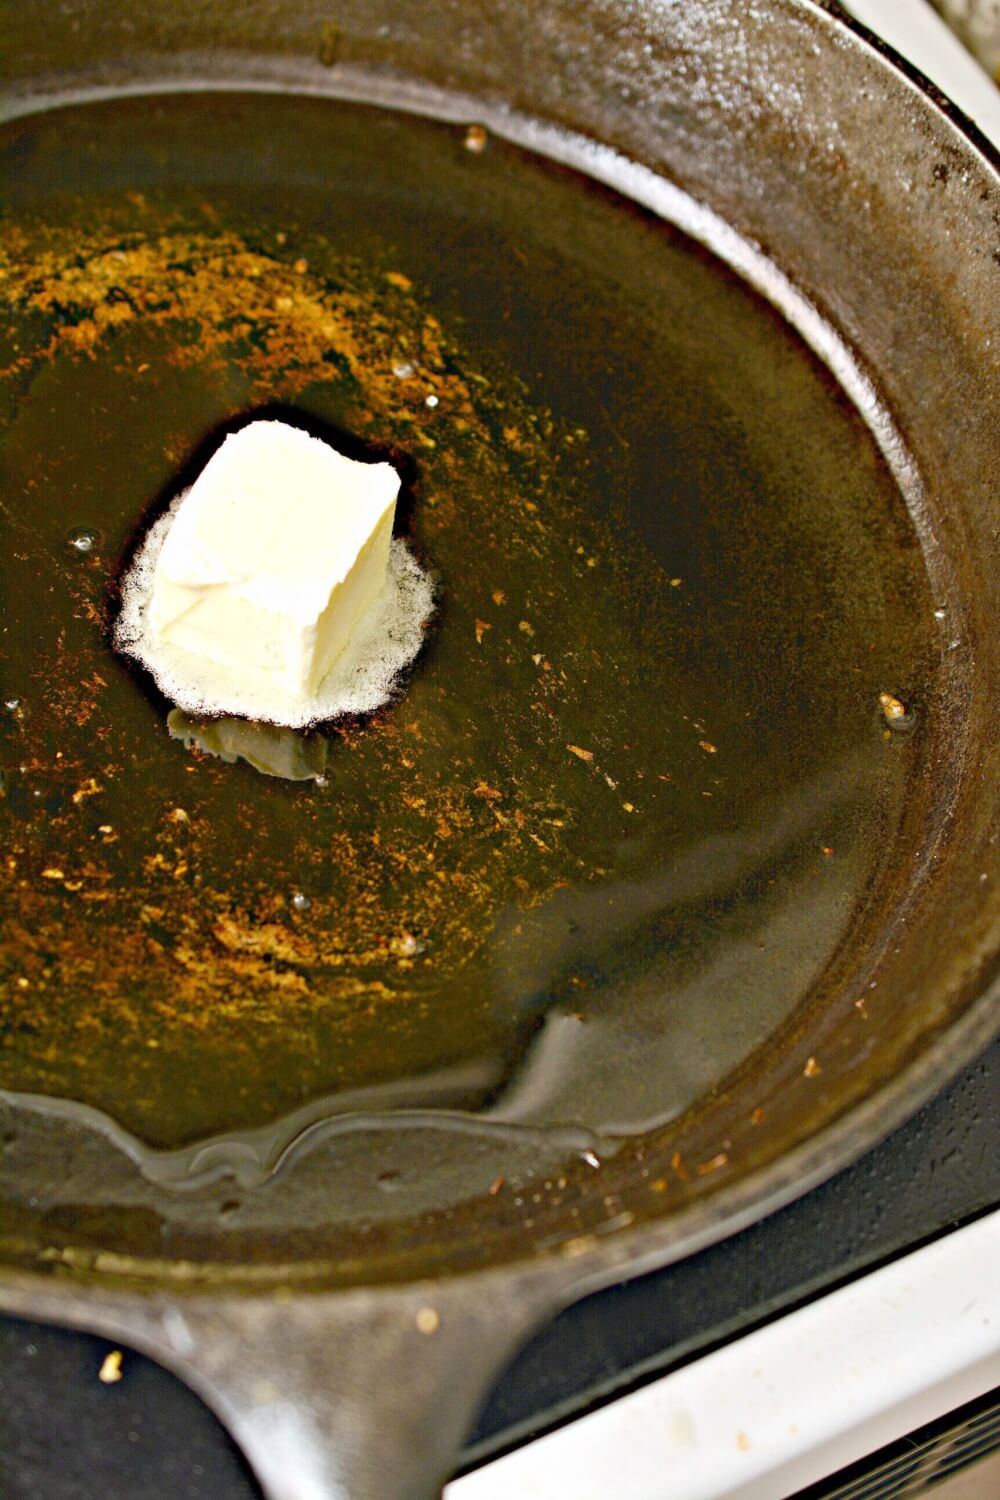
- Once the butter has melted and begun to foam slightly, add the garlic and sauté until browned but not burned.
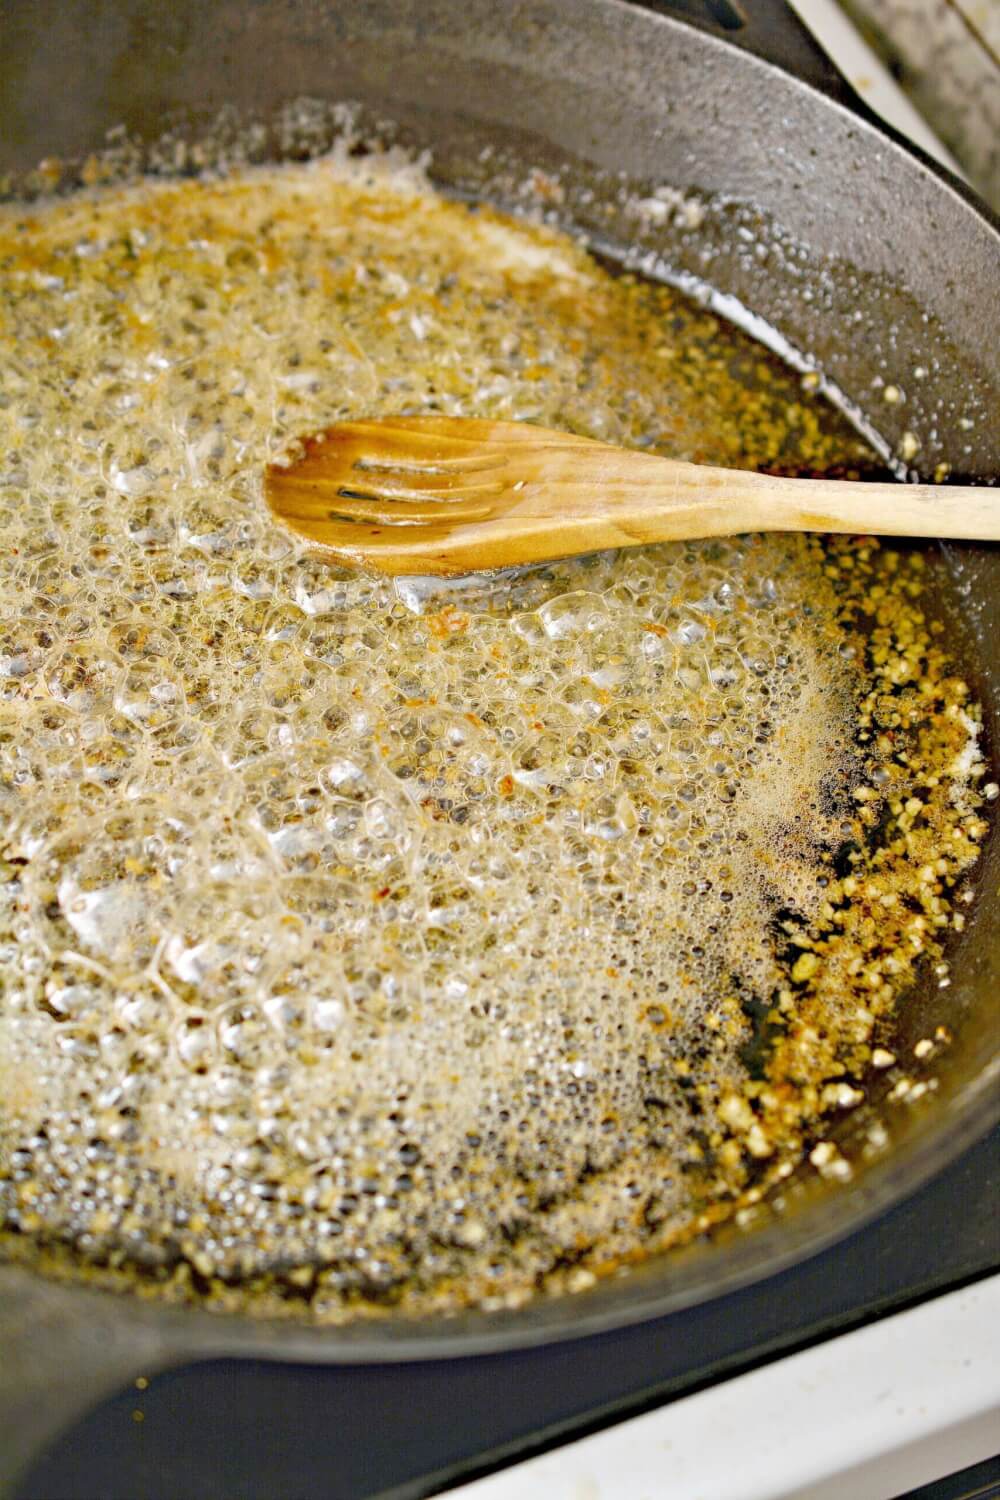
- Pour the garlic sauce into a bowl and keep warm.
- In a mixing bowl, toss the shrimp in the flour, paprika and salt and pepper to taste.
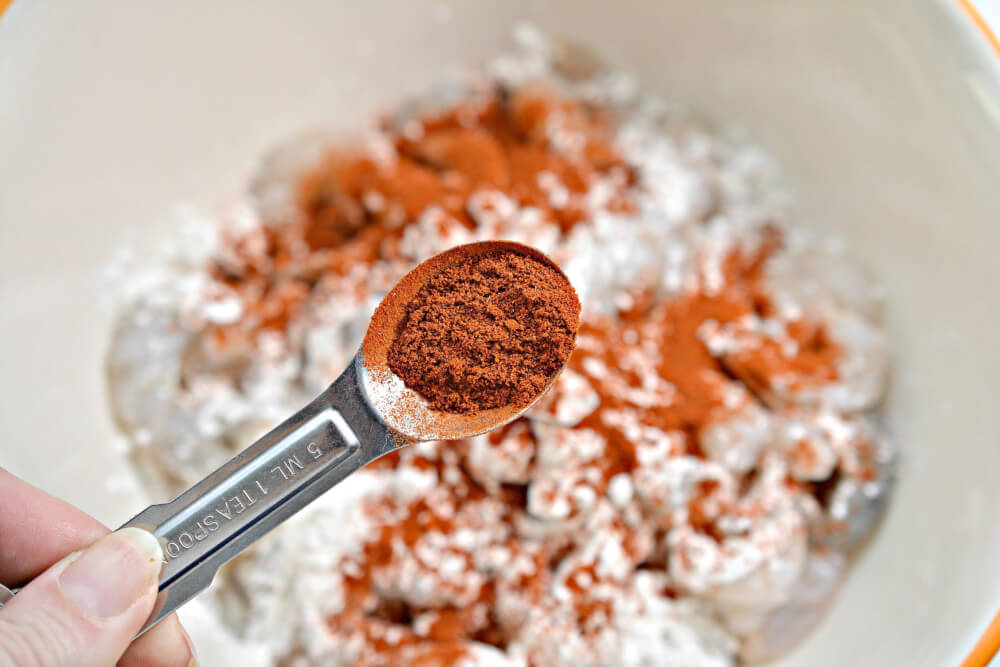
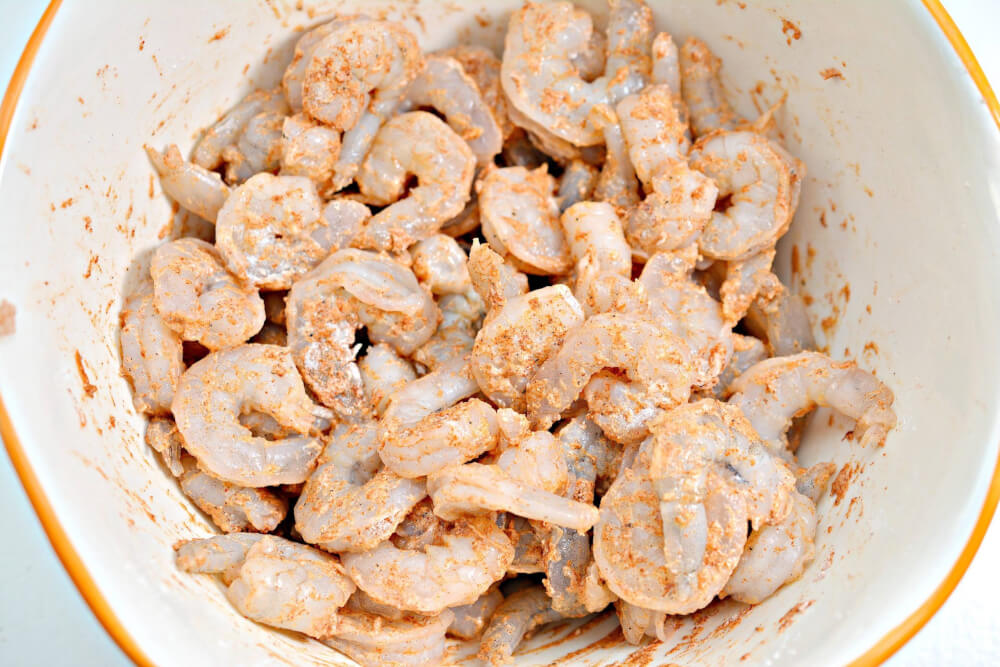
- Add the other tablespoon of olive oil and two tablespoons of butter to the skillet over medium heat.
- Once the butter has melted, add the shrimp to the skillet in one single layer. Cook for 3-4 minutes per side until cooked through. Do not overcook the shrimp or they will become tough. You may need to cook the shrimp in batches to make it through them all.
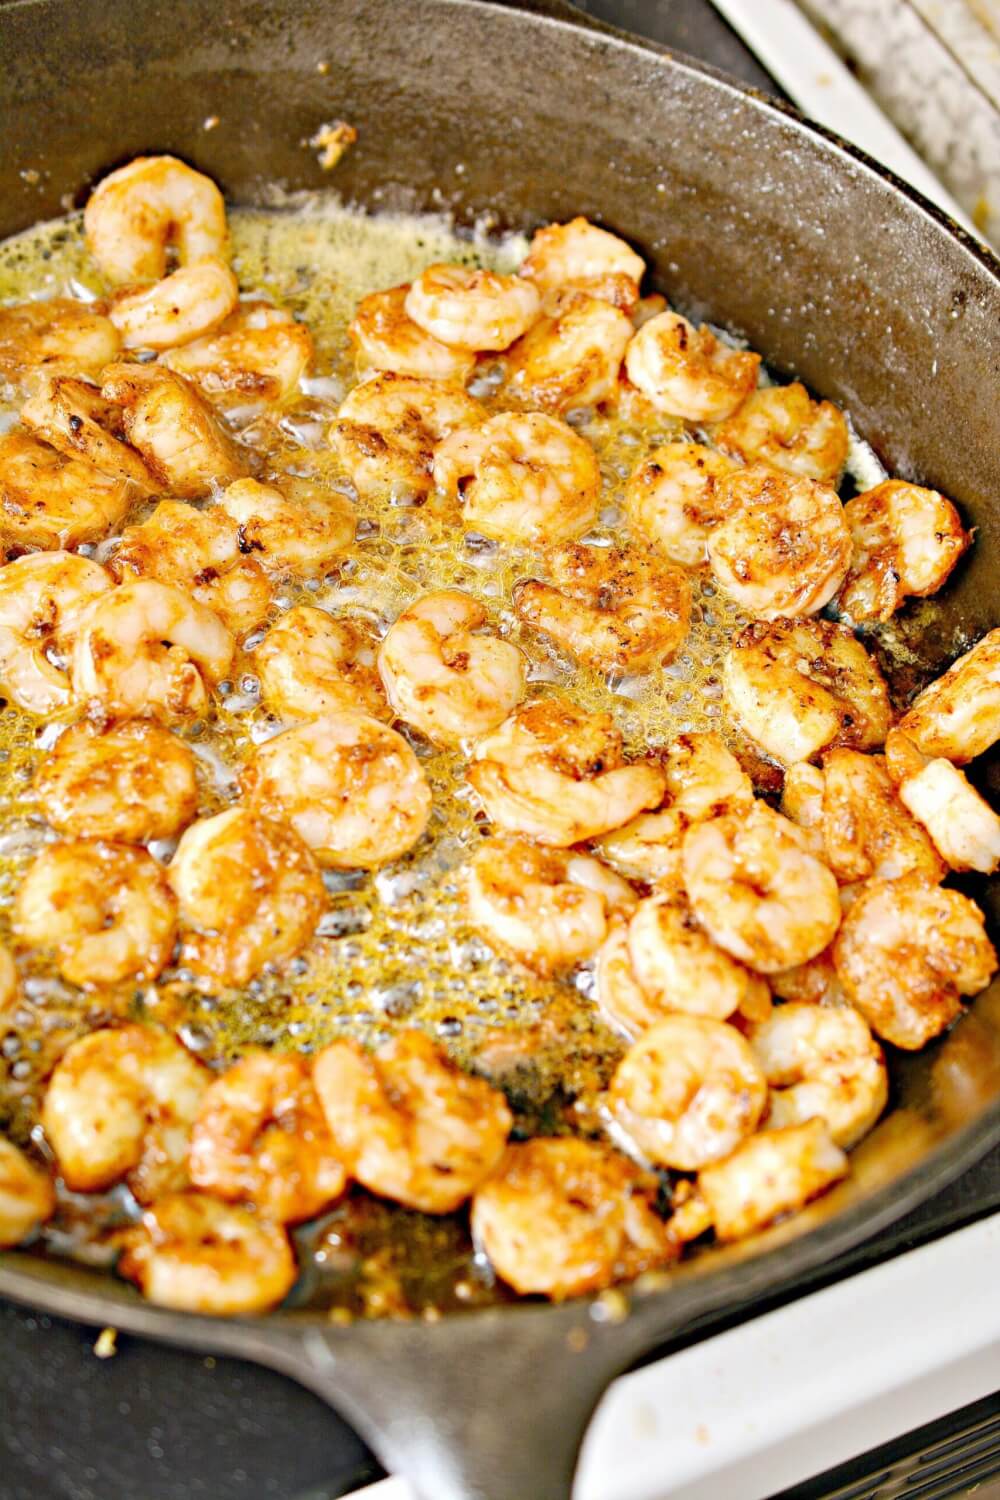
- Once the shrimp is cooked, add the butter sauce back to the skillet, and toss the shrimp to coat.
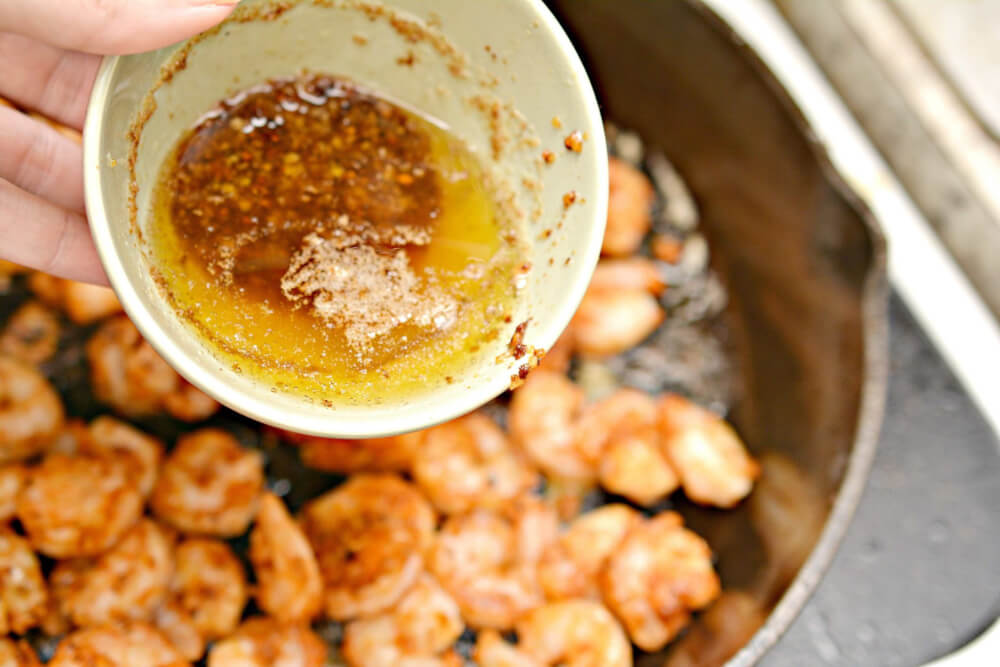
- Serve this Hawaiian garlic shrimp recipe over a bed of white sticky rice.
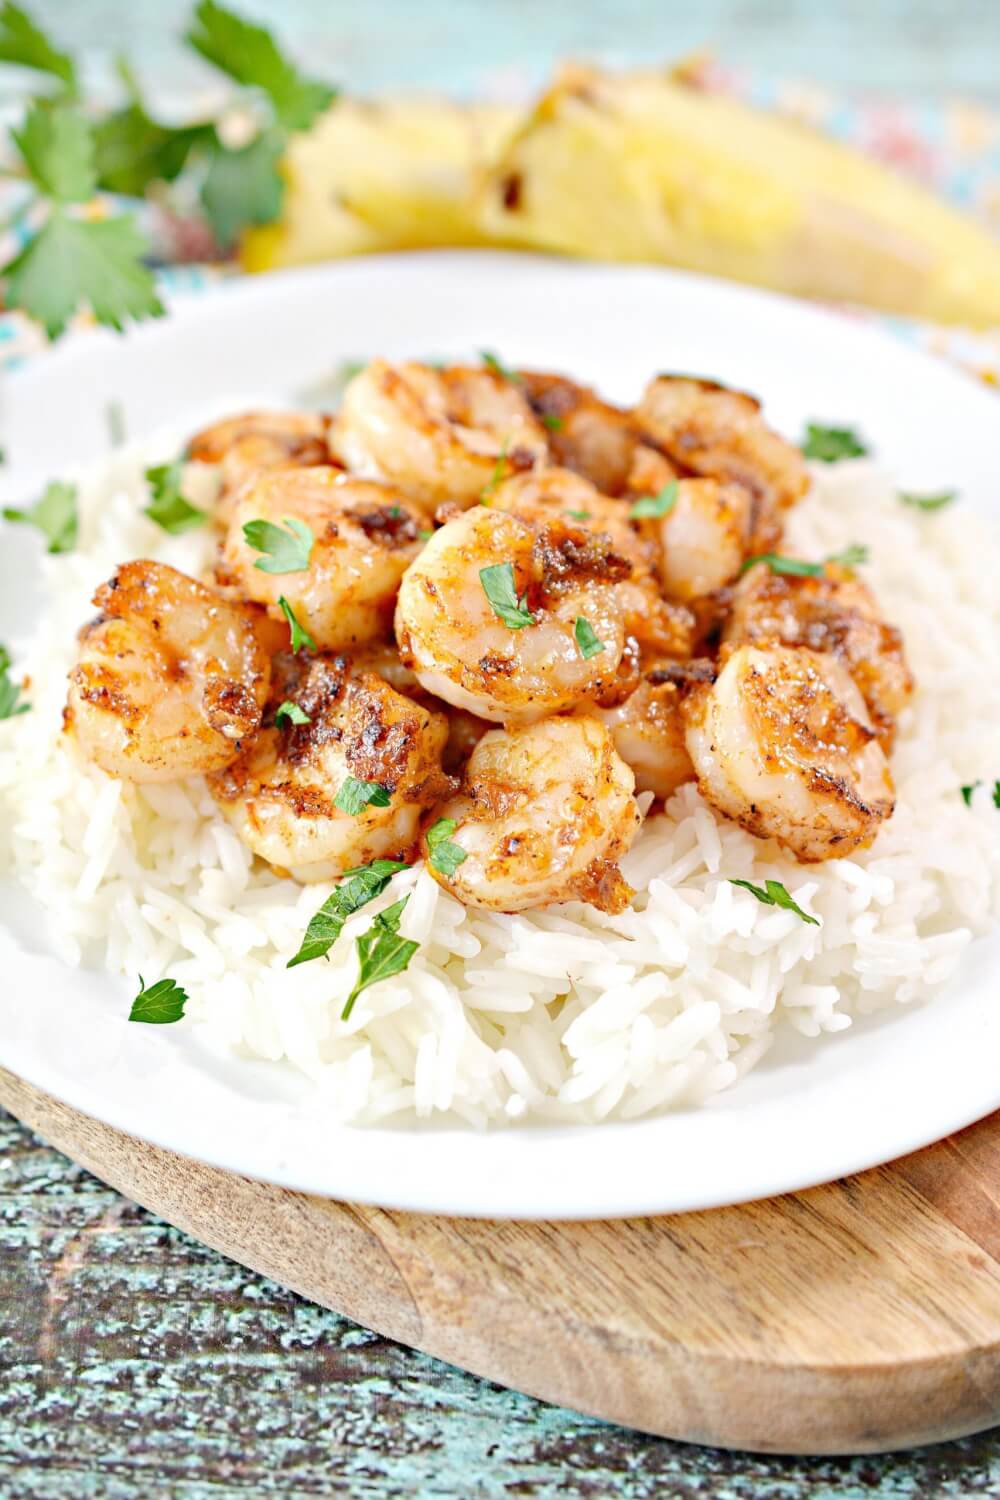
Hawaiian Garlic Shrimp Recipe
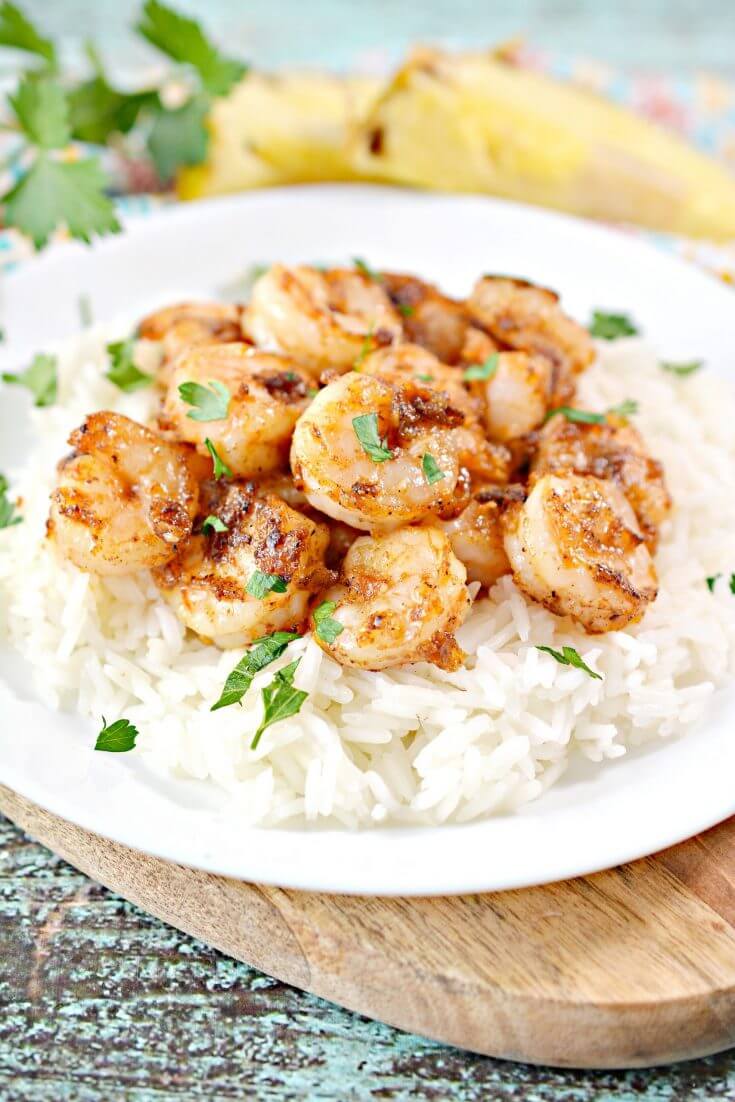
This Hawaiian style garlic shrimp recipe is sure to be a hit with your whole family!
Ingredients
- 1 ½ lbs. Medium shrimp
- 3 Tbsp. Flour
- 1 ½ tsp. Paprika
- Salt and pepper to taste
- 2 Tbsp. Olive oil divided
- 8 Tbsp. Butter unsalted and divided
- 6 tsp. Minced garlic
Instructions
- Place 1 tablespoon of the olive oil and 6 tablespoons of the butter in a large skillet over medium heat on the stove.
- Once the butter has melted and begun to foam slightly, add the garlic and saute until browned but not burned.
- Pour the garlic sauce into a bowl and keep warm.
- In a mixing bowl, toss the shrimp in the flour, paprika and salt and pepper to taste.
- Add the other tablespoon of olive oil and two tablespoons of butter to the skillet over medium heat.
- Once the butter has melted, add the shrimp to the skillet in one single layer. Cook for 3-4 minutes per side until cooked through. Do not overcook the shrimp or they will become tough. You may need to cook the shrimp in batches to make it through them all.
- Once the shrimp is cooked, add the butter sauce back to the skillet,and toss the shrimp to coat.
- Serve the shrimp over a bed of white sticky rice.
Nutrition Information:
Yield:
5Serving Size:
1Amount Per Serving: Calories: 397Total Fat: 26gSaturated Fat: 13gTrans Fat: 0gUnsaturated Fat: 12gCholesterol: 336mgSodium: 1351mgCarbohydrates: 7gFiber: 0gSugar: 0gProtein: 32g
Hawaiian Garlic Shrimp FAQs
If they are frozen, thaw them by running cold water on them. Then, toss them in the sauce until the shrimp is hot.
Yes. Simply rinse them in cold water to remove any debris and then immediately cook them.
Shrimp cook so quickly (usually just 2-3 minutes.) Keep an eye on them as you saute and remove them from heat as soon as they are fully pink.
You can do it either way. Cooking them with the shells on adds extra flavor and prevents them from overcooking and getting rubbery. But, then you’ll need to peel them as you eat.

