
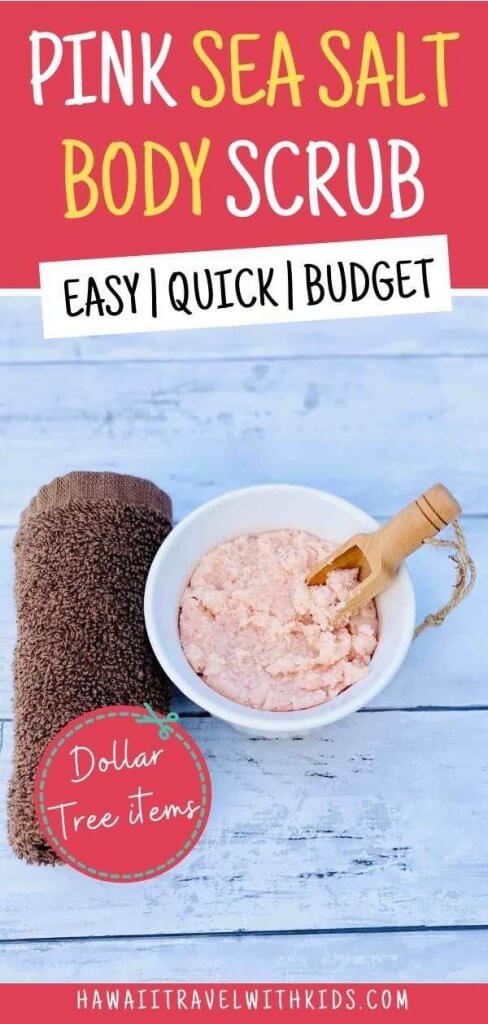
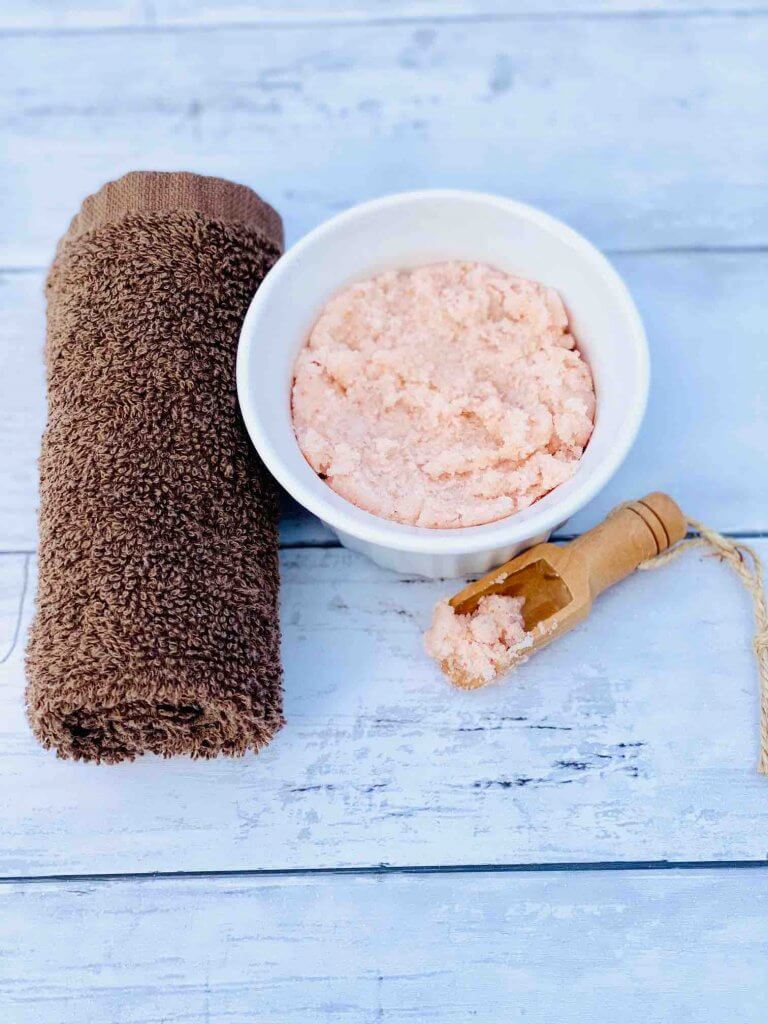
Are you looking for a cheap DIY gift idea? Find out how to make this pink Himalayan salt scrub recipe from items you can get at Dollar Tree!
This Pink Himalayan Salt Scrub Recipe contains affiliate links which means if you purchase something from one of my affiliate links, I may earn a small commission that goes back into maintaining this blog.
One of my favorite things about visiting Hawaii is shopping for spa products.
The best place for Hawaiian spa products is Malie Organics. I’ve been going to their Kauai location for years, and their quality is unsurpassed.
I’m pretty obsessed with their Hawaiian body scrubs, which are perfect for a DIY spa day at home.
I love picking up gift items for friends and family, too.
But I know buying organic spa products isn’t always within the budget. So, that’s why it’s fun to make your own DIY salt scrub!
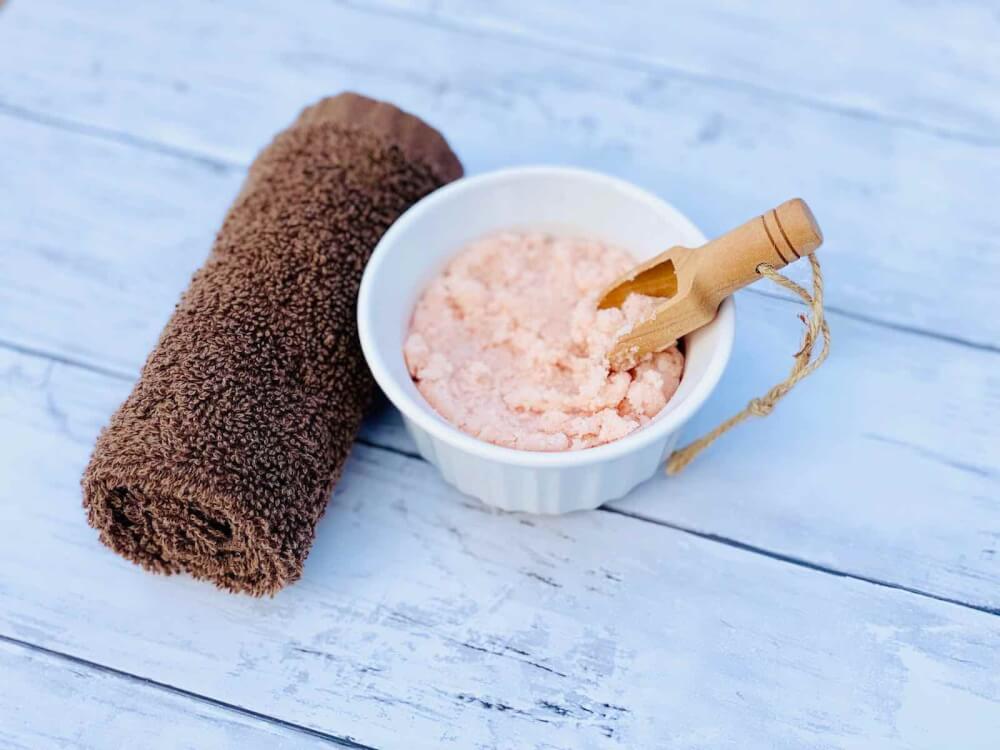
This is a pretty basic sea salt body scrub recipe using cheap ingredients you can find at your local dollar store.
I admit, my favorite part about this pink Himalayan salt scrub is the color! It’s just so pretty! But you can also use other types of salt.
You can change it up by adding in some Hawaiian-scented oils, like plumeria, mango, and pineapple.
And if you’re making a lot, get this set of 6 Hawaiian oils.
This DIY pink Himalayan salt scrub is perfect to use yourself or give to others for Mother’s Day, birthdays, Christmas, and more.
Keep scrolling for this cheap homemade coconut oil body scrub recipe!
Sugar Scrub vs. Salt Scrub
Ok, one of the biggest questions about making your own skin scrub is whether to make sugar vs. salt scrub.
Let me break down the differences:
Sugar Scrub Benefits
Sugar scrubs are a great exfoliate to improve circulation, remove unwanted dead skin cells, and promote new skin cell growth.
If you want a mild skin scrub, sugar scrubs are the way to go. That’s because the shape of each sugar granule is much rounder than salt (aka they aren’t as abrasive.)
That also makes sugar scrubs a great choice for sensitive areas like your face. This is the main difference between the two.
Plus, sugar dissolves in water quicker than salt, so it’s a bit of a softer scrub.
Benefits of Sea Salt Scrub
Salt scrubs are more coarse and are a more intense body scrub than sugar scrubs.
The main purpose of salt scrubs is to eliminate dead skin cells, promote good circulation, and help the regeneration of healthy new skin cells. It helps to eliminate your dry skin.
This will help tighten your skin, which makes it look younger.
But, the biggest benefit of using salt vs. sugar is that salt is also an anti-inflammatory and can pull toxins out of your body.
Homemade salt scrubs are perfect for a foot scrub since the dead sea salt crystals are more coarse and will help remove all the dry skin that many feet accumulate.
How to Use Salt Scrub
Ok, now that you understand the benefits of a salt scrub, let me explain how to use it.
I like to think of salt scrubs as being the heavy-duty spa product.
When you first notice that your skin is super dry and itchy, you’ll want to use a salt scrub. This will scrape off the majority of your dead skin cells.
Here’s what to do:
First, wash your body like normal (either with soap or body wash) so that your skin is completely clean.
Put some salt scrub in your hand or a bath mitt and rub it in a circular motion on areas where you have dry skin. This also helps prevent ingrown hairs, leaving you with glowing skin.
Then, make sure to thoroughly rinse this salt scrub with warm water.
Usually, salt scrubs work best on elbows, feet, legs, etc.
How to Store Homemade Salt Scrub
You’ll definitely want to store this pink salt scrub in an airtight container. If it’s for self-use, you can even just use a plastic Ziploc container.
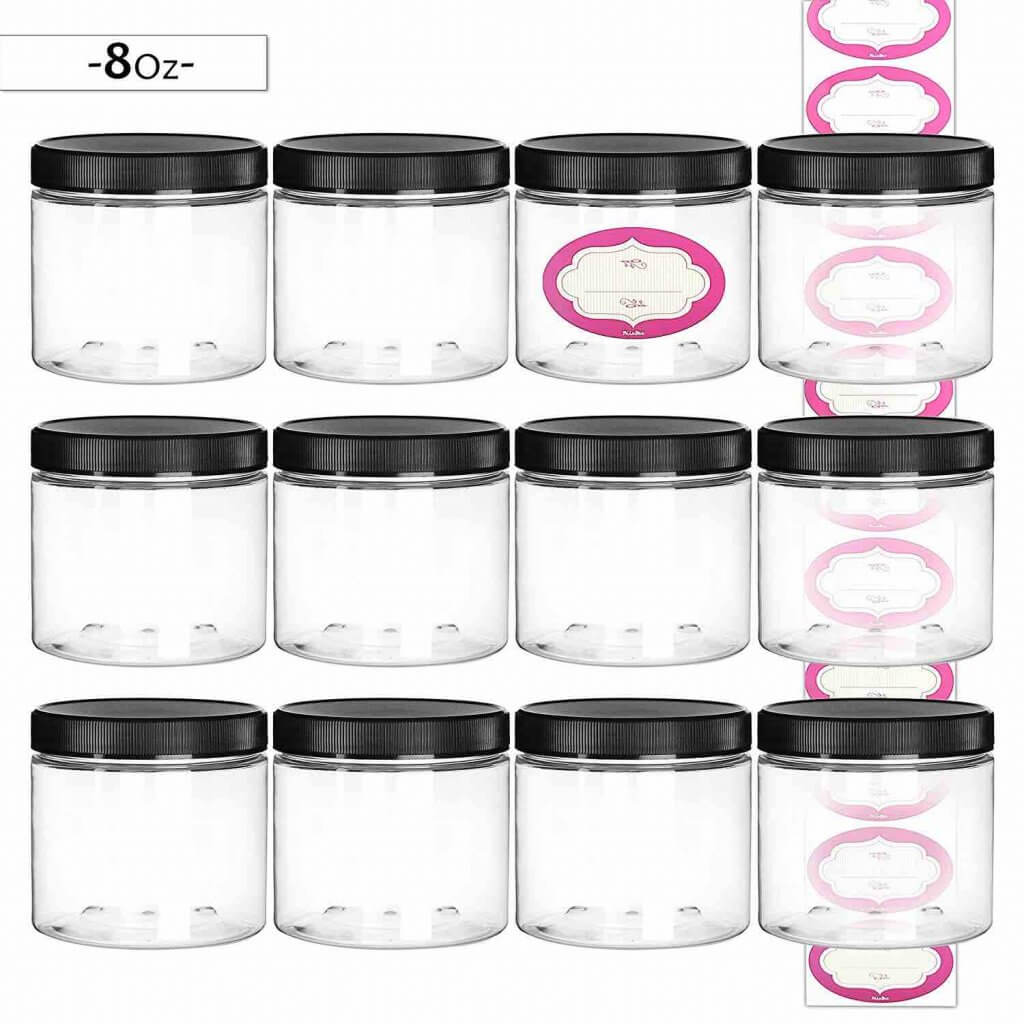
If you are going to give it as a gift, you might splurge and get a set of plastic spa jars and create a fun label for your creation.
This is especially fun if you use scented oils because you can then give a trio of coconut oil and salt scrubs.
Best Salt for Homemade Salt Scrub Recipe
You can use a variety of salts from your DIY salt scrub recipe.
Epsom salts have anti-inflammatory properties and are full of magnesium, and they would be great in an Epsom salt scrub.
Dead sea salt is another great option that has antibacterial properties and helps promote mineral absorption.
Pink Himalayan salts, along with the typical benefits, also help to tone the skin and smooth your skin’s texture.
DIY Himalayan Salt Scrub Recipe
Here is a basic recipe for a salt scrub.
Use what you have, but for this salt scrub recipe, coconut oil and Himalayan salt are used.
Coconut Body Scrub Ingredients
- Dollar Tree Himalayan Salt
- Dollar Tree Coconut Oil
- Water
- Scented oils (optional)
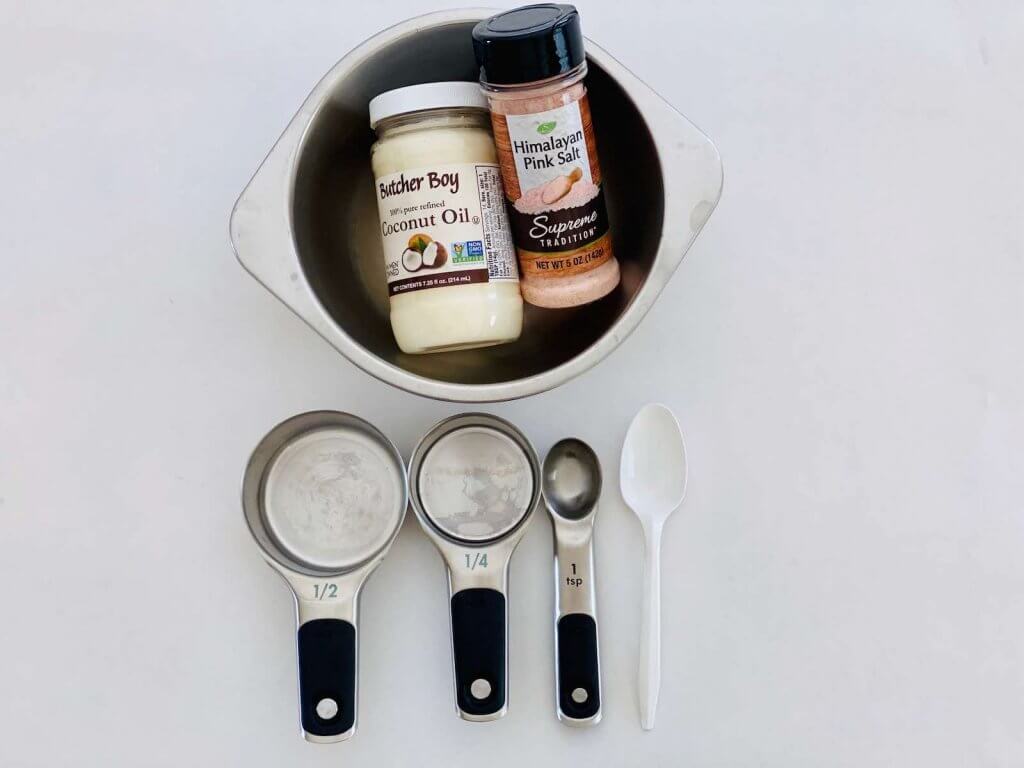
TOOLS NEEDED
- Measuring cups ( ¼ and ½)
- Measuring spoon (1 tsp)
- Mixing bowl
- Spoon
Recipe for Salt Scrub with Coconut Oil
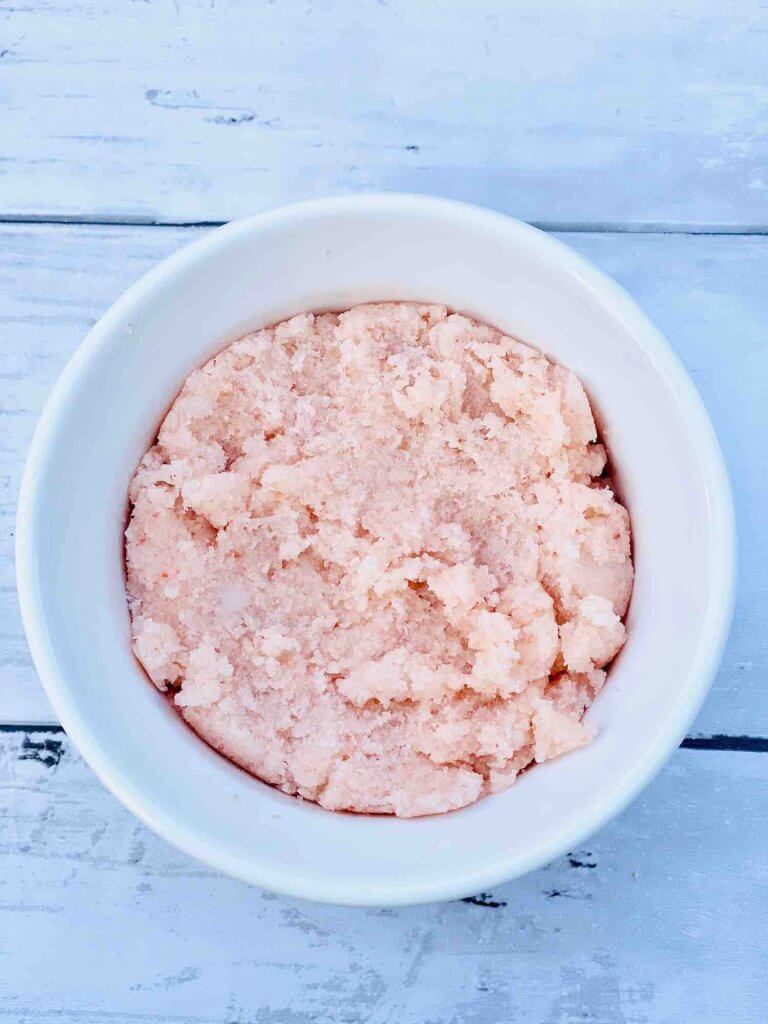
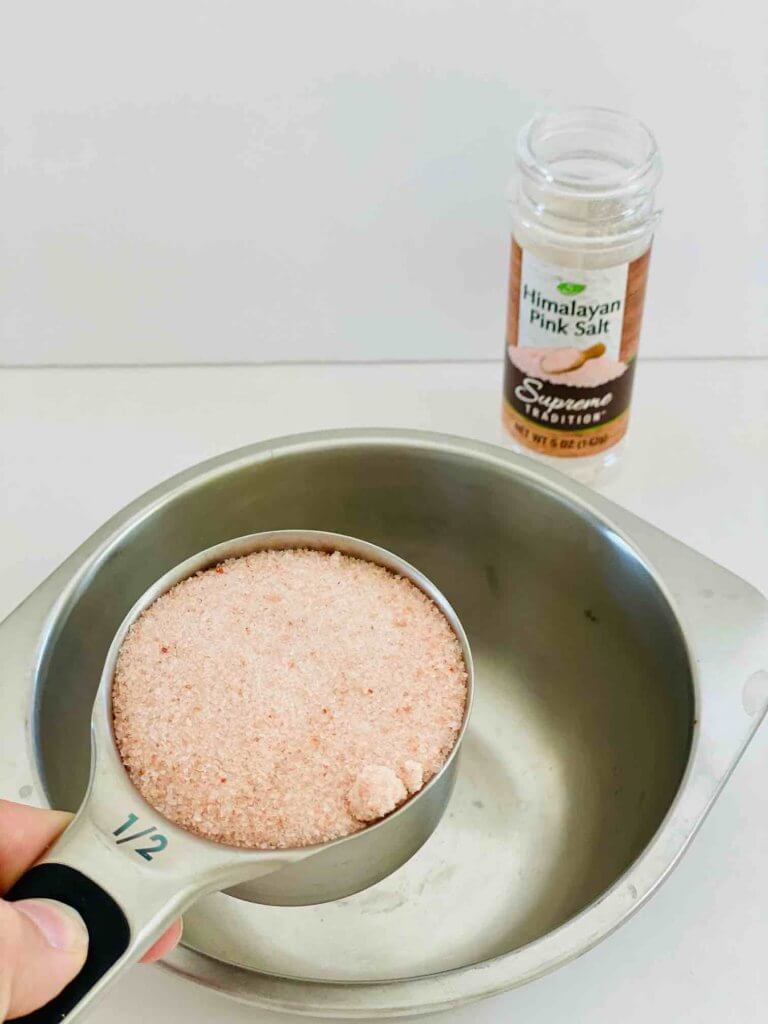
Start by measuring ½ cup of Himalayan salt and place in a mixing bowl.
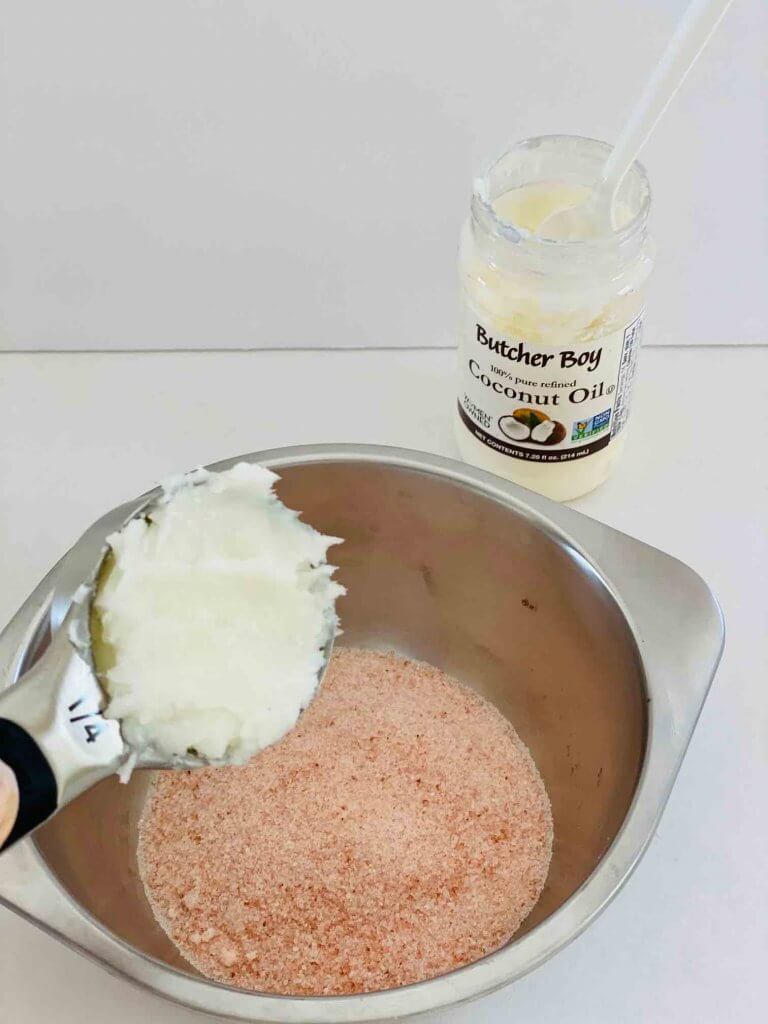
Next, add ¼ cup of Coconut Oil.
Mix together thoroughly.
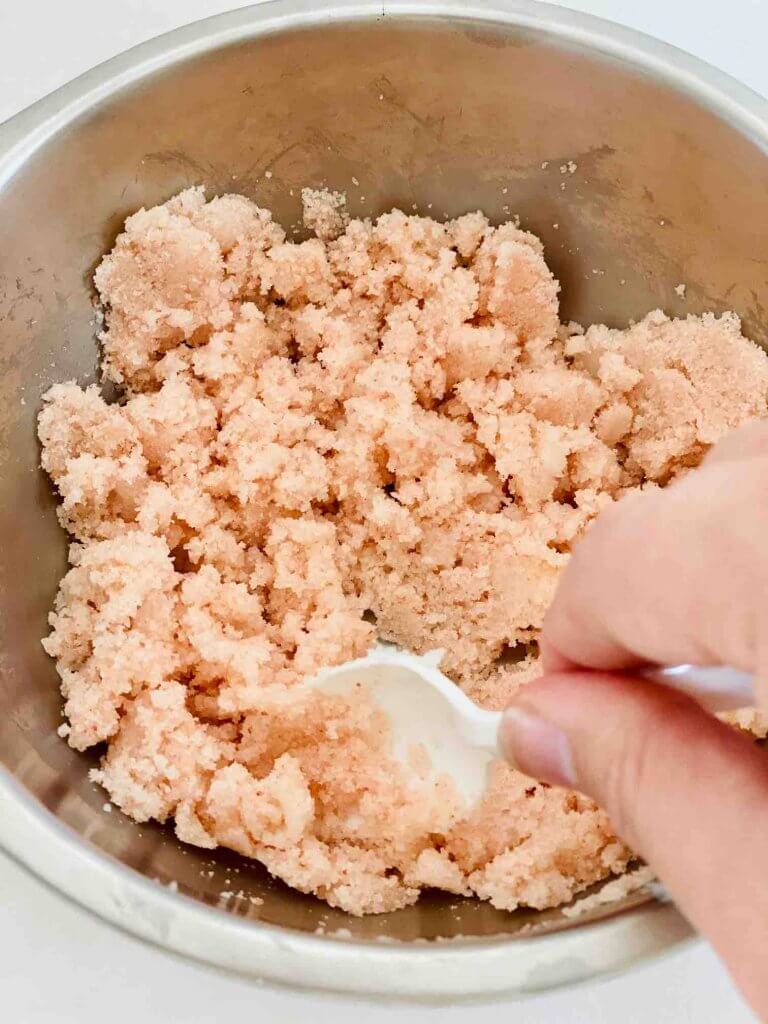
Add 2 tsp of water, and mix thoroughly.

Store in an air-tight plastic or glass jar.
Optional Add-Ins
Since this is a basic recipe, you can add some fun things to spice up this DIY salt scrub recipe.
As mentioned, fragrance or essential oils are great additives that would make your DIY salt scrub recipe smell absolutely incredible. However, these are an additional cost too.
Vitamin E oil is always good to add to natural beauty products to help prolong the shelf life, plus it is also good for skin care.
You can put in some dried herbs like rose petals if you want as well. These are also good for your skin and make your homemade salt scrubs look so pretty too! If you do put herbs or flower petals inside, it is best to use dried herbs, not fresh ingredients.
If you want additional benefits, you can add Epsom salt or another carrier oil like grapeseed oil as well.
Himalayan Salt Body Scrub Recipe FAQs
A DIY salt body scrub helps scrape away dead skin cells, pull out toxins, and is great for anti-inflammation.
You really shouldn’t use salt scrubs more than 2-3 times a week. That’s because they can leave your skin dry and irritated if you use them more often.
Not really. It’s a bit abrasive for faces and other sensitive skin areas. Sugar scrubs are a bit more gentle if you need to slough off dead skin.
Himalayan pink salt is perfect for adding to your homemade salt scrub for your legs and your entire body really. The coarse texture and natural ingredients are perfect for helping you have healthy and glowing skin as it removes all your dry skin.
You will always want to use carrier oils in your homemade sea salt scrub recipe. You really cannot go wrong with any carrier oils! Some of the best include jojoba oil, grapeseed oil, olive oil, and coconut oil. I think the best oil would be jojoba oil, as it is great for irritated skin. There are plenty of other oils that would work well too.
Putting an essential oil into your sea salt scrub recipe is not necessary but is always nice for an added scent! There are many great essential oils to choose from, depending on what body scrub recipes you want to make. For a salt rub for skin care, lavender essential oil is a lovely scent you can’t go wrong with. To use before a morning shower to help wake you up, try peppermint oil or citrus oils. If you use citrus oils, be careful of sun exposure, though!
DIY Salt Scrub Recipe Wrap Up
DIY beauty is so much fun to make, and this Himalayan pink salt scrub recipe is super easy too! Try this out next time you want to make a homemade body scrub that reminds you of Hawaii. Your skin will thank you!
Looking for more Hawaii DIY projects? Learn how to make a mango lotion bar, pineapple sugar scrub bars, a recycled glass centerpiece or a macrame rainbow wall hanging!
Pink Himalayan Salt Scrub Recipe
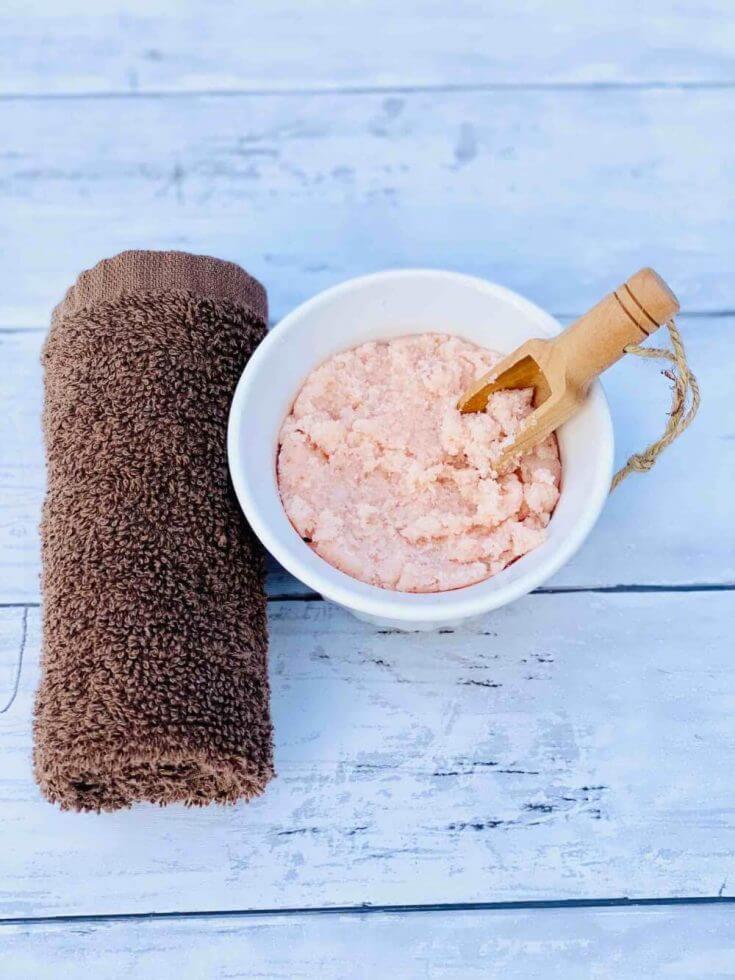
This easy sea salt and coconut oil scrub is perfect for creating a spa day at home. It's super affordable and great for DIY gifts for friends and family!
Materials
- Dollar Tree Himalayan Salt
- Dollar Tree Coconut Oil
Tools
- Measuring cups ( ¼ and ½)
- Measuring spoon (1 tsp)
- Mixing bowl
- Spoon
Instructions
- Start by measuring ½ cup of Himalayan salt and place in mixing bowl
- Next add ¼ cup of Coconut Oil
- Mix together thoroughly
- Add 2 tsp of water, and mix thoroughly
- Store in an air tight jar