

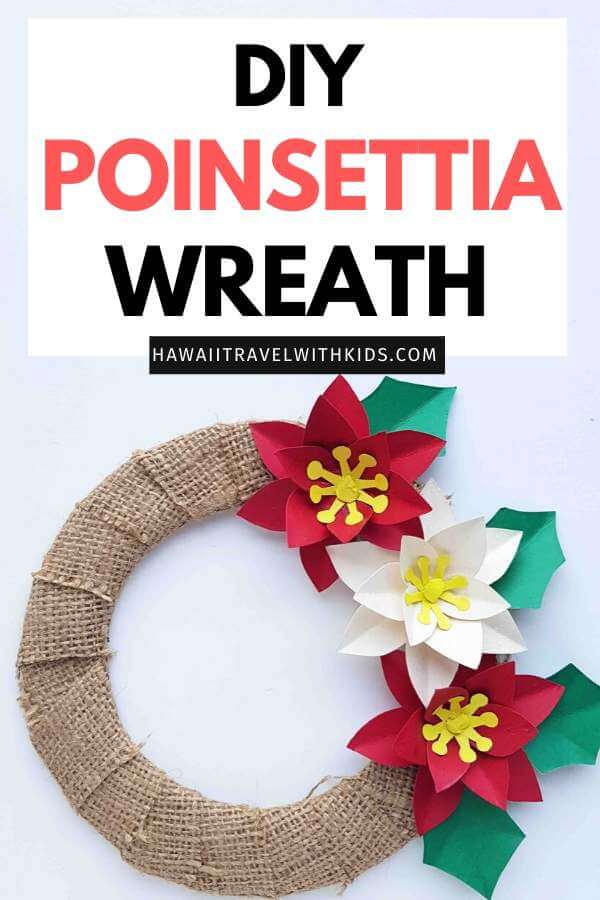
Love Hawaii and want to make some Hawaiian Christmas decorations to display at your house this year? Find out how to make a poinsettia wreath out of paper and burlap lace. Scroll for the full DIY wreath tutorial!
This post about how to make a Christmas wreath step by step with pictures was written by Hawaii travel expert Marcie Cheung and contains affiliate links which means if you purchase something from one of my affiliate links, I may earn a small commission that goes back into maintaining this blog.
Over the years, I’ve spent several holidays in Hawaii. One of our favorite times to visit Hawaii is during Christmas because of the Hawaiian Christmas carols, awesome Hawaii Christmas events, and fun Hawaiian Christmas decorations.
Plus, it’s hard to beat Santa wearing an Aloha shirt!
This year, we won’t be in the islands, but we’re going to bring a piece of Hawaii back home with Hawaiian Christmas decorations.
I’m a huge fan of Hawaiian poinsettia flowers. I love the deep red color, and it’s the perfect tropical flower that is also Christmas-y.
This DIY paper Christmas wreath tutorial doesn’t require many supplies and is lightweight enough to hang on your front door.
Be sure to get my free Mele Kalikimaka printable wall art!
So, let me show you exactly how to make a wreath step by step with pictures that is perfect for your home or to give as a gift! This will surely be one of the easiest wreath ideas you’ll make at home.
How to Make a Poinsettia Wreath
List of Supplies:

- Colored cardstock paper
- Pencil
- Scissors
- Craft glue
- Burlap ribbon
- Poinsettia Wreath template
DIY Poinsettia Wreath Instructions
Here is how to make a wreath for Christmas that adds a touch of Hawaiian flair at your front door:
Step 1:

Determine the size of the wreath and cut out a round wreath base from a cardstock paper.
Step 2:

I’m using brown burlap fabric to wrap and cover the cardstock base. You can use a burlap lace or cut burlap fabric into a strip. Apply glue at the start of the burlap wrapping and then start to wrap the base with the burlap.
Step 3:

Cover the whole cardstock base with burlap. Keep the open end of the burlap lace on the back side of the wreath, and apply glue on the open end of the burlap to secure the wrapping.
Step 4:

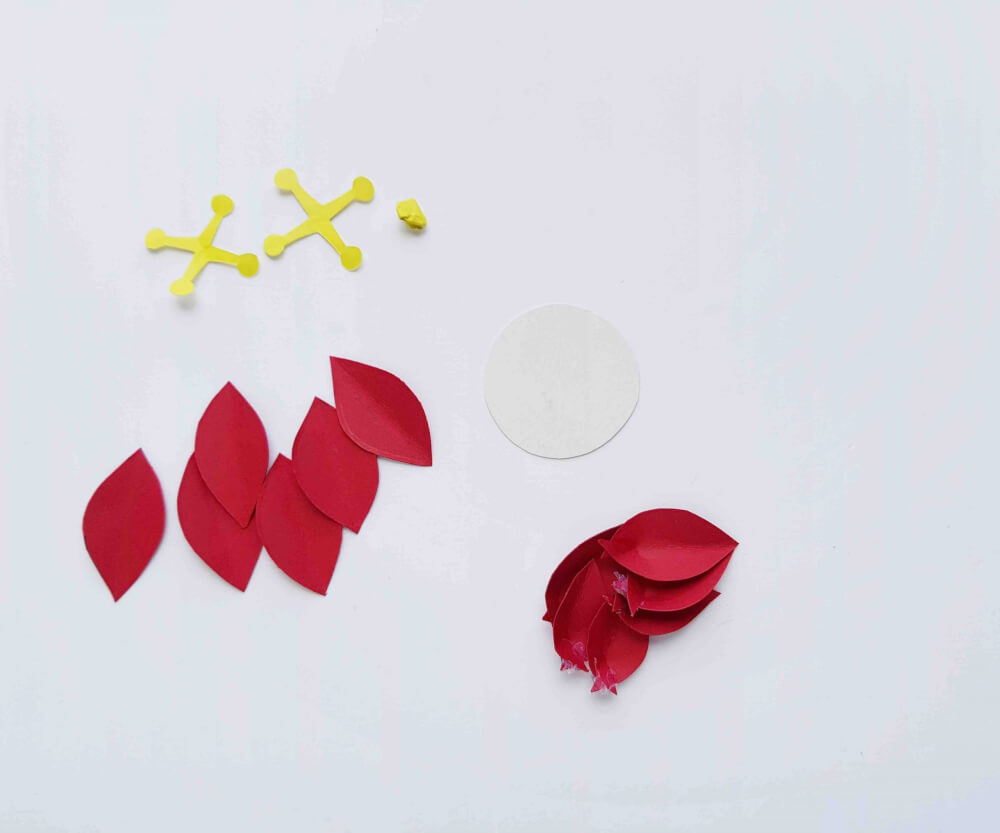
Trace the flower template patterns on the selected cardstock papers and cut them out nicely.
For each flower, you’ll need 3 patterns for the center (2 cross and 1 round shape), 6 large petals for the outer layer, 3 large petals for the middle layer, and 3 small petals for the inner layer for this Hawaii wreath.
Step 5:

Grab the 3 large petals and the 3 small petals and cut 1 cm slit from their tip.
Step 6:

Overlap both sides of the slit and stick them together using craft glue.
Step 7:
Create a crease along the middle of the other 6 large petals. Cut out a round base from cardstock paper for the flower.
Step 8:

Attach the 6 large petals on the base nicely.
Step 9:

Attach the 3 large curved petals on the base for the next layer. Then, attach the 3 small curved petals towards the center of the base.
Step 10:

Attach the 2 cross patterns on the center of the poinsettia petals. Crumple the round piece and attach it to the center of the cross patterns to complete the flower craft.
Step 11:
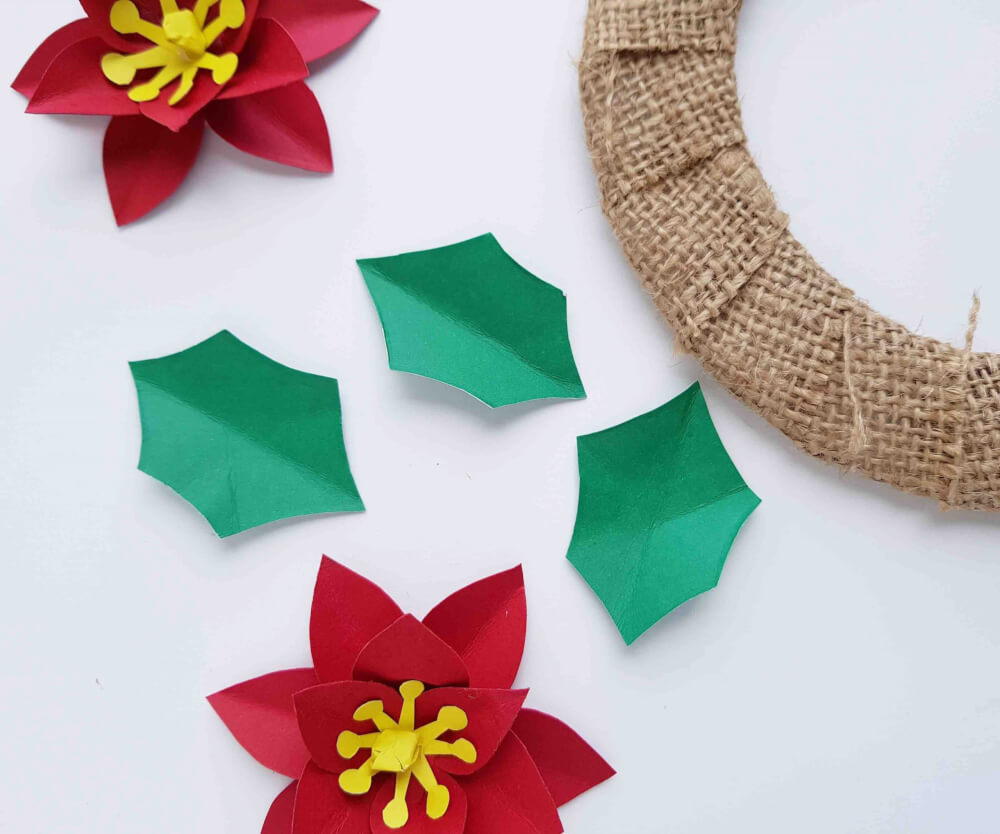
Cut out some leaf patterns from green-colored cardstock papers. Similarly, create more poinsettia flowers and leaves.
Step 12:
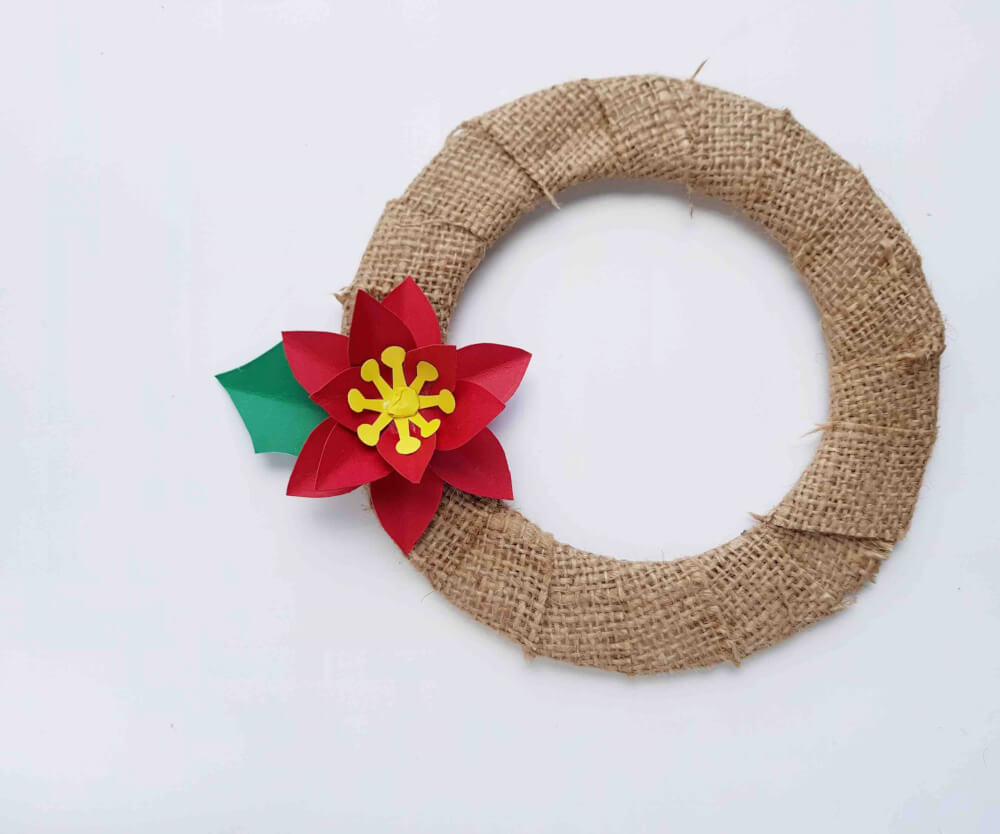
Attach the flowers and leaves on the burlap-wrapped wreath base.
Step 13:
 Attach the rest of the flowers and leaves to complete the Christmas poinsettia wreath craft. You can attach a twine or string so you could hang it on your front door.
Hawaiian Christmas Decorations: How to Make a Poinsettia Wreath

Looking for some easy DIY Hawaiian Christmas decorations? Find out how to make a beautiful paper Poinsettia Wreath that adds a little tropical touch to your holiday decorations.
Materials
- Colored cardstock paper
- Pencil
- Craft glue
- Burlap lace
Tools
- Scissors
Instructions
- Determine the size of the wreath and cut out a round wreath base from a cardstock paper.
- I’m using brown burlap fabric to wrap and cover the cardstock base. You can use a burlap lace or cut burlap fabric into a strip. Apply glue at the starting of the burlap wrapping and then start to wrap the base with the burlap.
- Cover the whole cardstock base with burlap. Keep the open end of the burlap lace on the back side of the wreath and apply glue on the open end of the burlap to secure the wrapping.
- Trace the flower template patterns on the selected cardstock papers and cut them out nicely. For each flower you’ll need 3 patterns for the center (2 cross and 1 round shape), 6 large petals for the outer layer, 3 large petals for the middle layer and 3 small petals for the inner layer.
- Grab the 3 large petals and the 3 small petals and cut 1cm slit from their tip.
- Overlap both sides of the slit and stick them using craft glue.
- Create crease along the middle of the other 6 large petals. Cut out a round base from cardstock paper for the flower.
- Attach the 6 large petals on the base nicely.
- Attach the 3 curved large petals on the base for the next layer. And then attach the 3 small curved petals towards the center of the base.
- Attach the 2 cross patterns on the center of the poinsettia petals. Crumple the round piece and attach it on the center of the cross patterns to complete the flower craft.
- Cut out some leaf patterns from green colored cardstock papers. Similarly create more poinsettia flowers and leaves.
- Attach the flowers and leaves on the burlap wrapped wreath base.
- Attach the rest of the flowers and leaves to complete the wreath craft.
Christmas Red Poinsettia Wreath DIY FAQs
Making Christmas decorations out of paper is easy, and you can easily make some Christmas red poinsettia wreaths perfect for the holiday season. This Christmas red poinsettia wreath DIY tutorial above will help you make one and add holiday cheer right at your front door!
You can easily make this paper wreath for Christmastime! All you need is some cardstock, burlap, and glue. You can also add clear lights for a cozy, festive look if you hang it on your front door.
Christmas Red Poinsettia Wreath Wrap-Up
That’s it! Now you know how to make a paper wreath perfect for a Christmas decoration right at your front door. This Christmas red poinsettia wreath will bring a joyful pop of color and holiday cheer to any space.
Making DIY Hawaiian Christmas decorations is so much fun and is pretty easy to do. This burlap and paper Christmas red poinsettia wreath is very budget-friendly and looks so cute!
Hang it on your front door to create a warm, tropical welcome for holiday visitors, or add some clear lights for a cozy glow that really shines as the sun sets.
The deep red poinsettias paired with the rustic burlap make this wreath perfect for both tropical and traditional holiday decor themes, and it will definitely remind you of Christmas in Hawaii.
Happy Holidays!