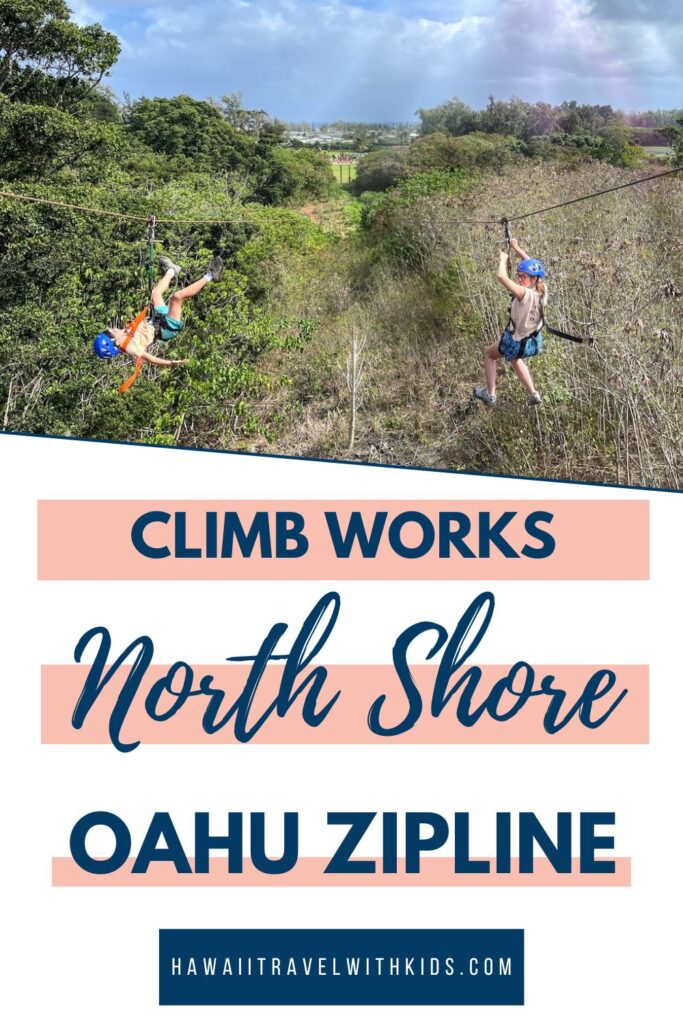
Are you looking for the best Oahu ziplines that are worth it? Keep scrolling for an honest review of the CLIMB Works zipline tour in North Shore Oahu.
This CLIMB Works Oahu zipline tour review was written by Hawaii travel expert Marcie Cheung and contains affiliate links which means if you purchase something from one of my affiliate links, I may earn a small commission that goes back into maintaining this blog.
Okay so my son is completely zipline-obsessed.
He did his first one in Fiji when he was 6 and now every single Hawaii trip, he begs to go ziplining.
Which means I’ve done a LOT of zipline research over the years.
Three years ago (February 2023), we were planning another Oahu trip and I kept hearing people talk about CLIMB Works on the North Shore.
Like, multiple people at different zipline tours on other islands mentioned it. So I figured we had to try it.
I’m not exaggerating when I say it was worth every minute of that drive from Waikiki.
Why This One’s Different (and Why I’m Recommending It)
CLIMB Works has been building zipline courses since 2005. They started in Tennessee, then opened on Oahu’s North Shore in 2014. They’re not some random company that popped up last year.
I bring that up because after you’ve done a few zipline tours, you can tell which companies really know what they’re doing and which ones are kind of winging it. These guys know what they’re doing.
Their whole approach is about pushing you slightly outside your comfort zone in a way that feels safe.
Which honestly is exactly what I needed because I’m not naturally an adventure person.
What You’re Actually Doing on This Tour
The tour takes about 3 hours total (closer to 2.5 once you’re actually on the course).
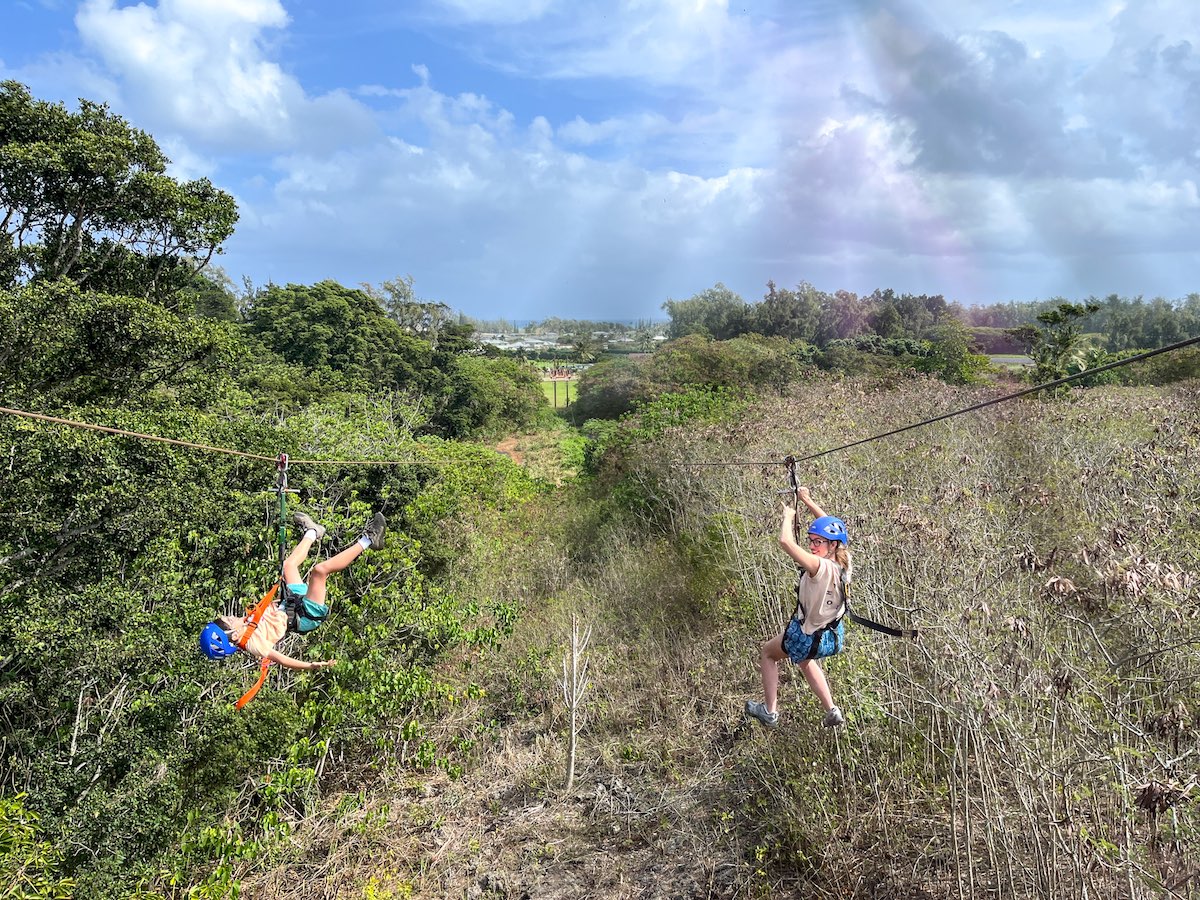
You do 8 different ziplines. They’re side-by-side so you can fly next to someone else, which my son loved because he kept racing the other kids.
The lines range from 500 feet to almost 2,400 feet. That longest one is half a mile.
When you’re standing there looking at where it goes, you’re honestly like “wait, seriously?”

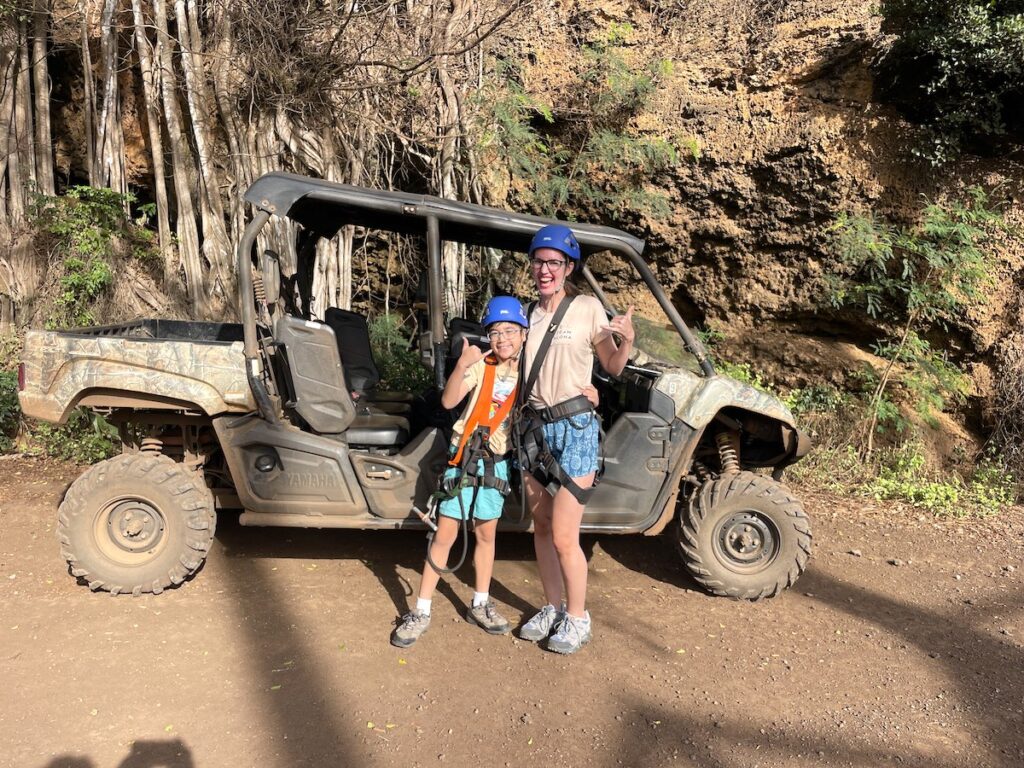
But it’s not just ziplining. You also:
- Ride an ATV up this bumpy mountain road to get to the ridge (my son thought this was hilarious)
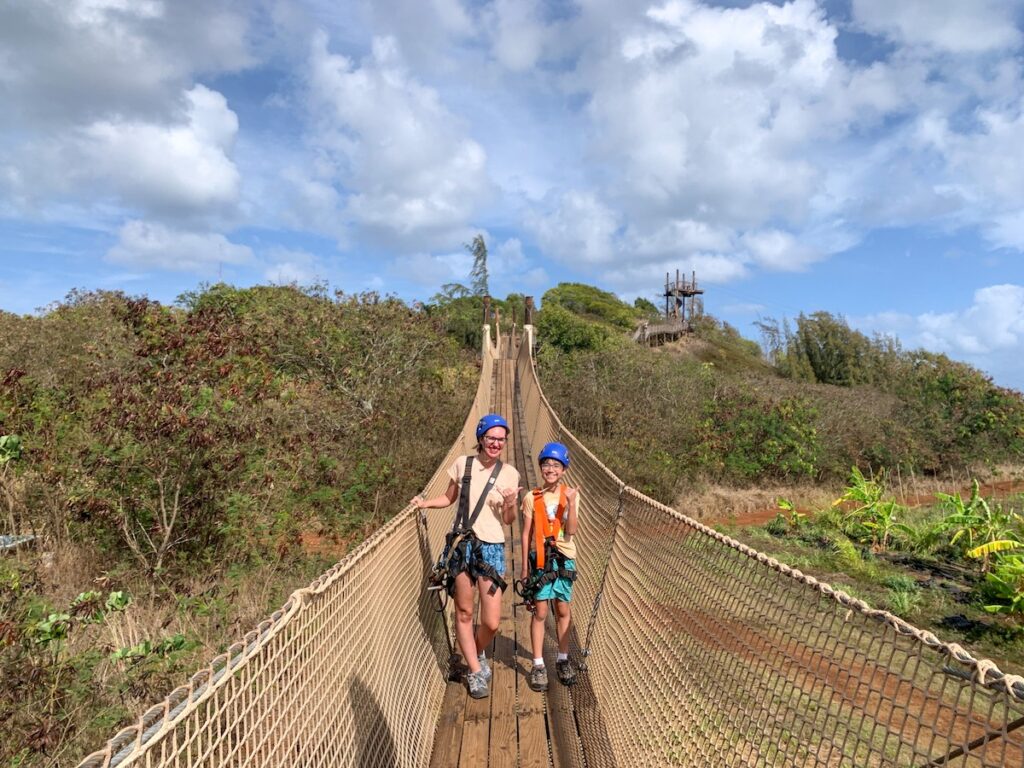
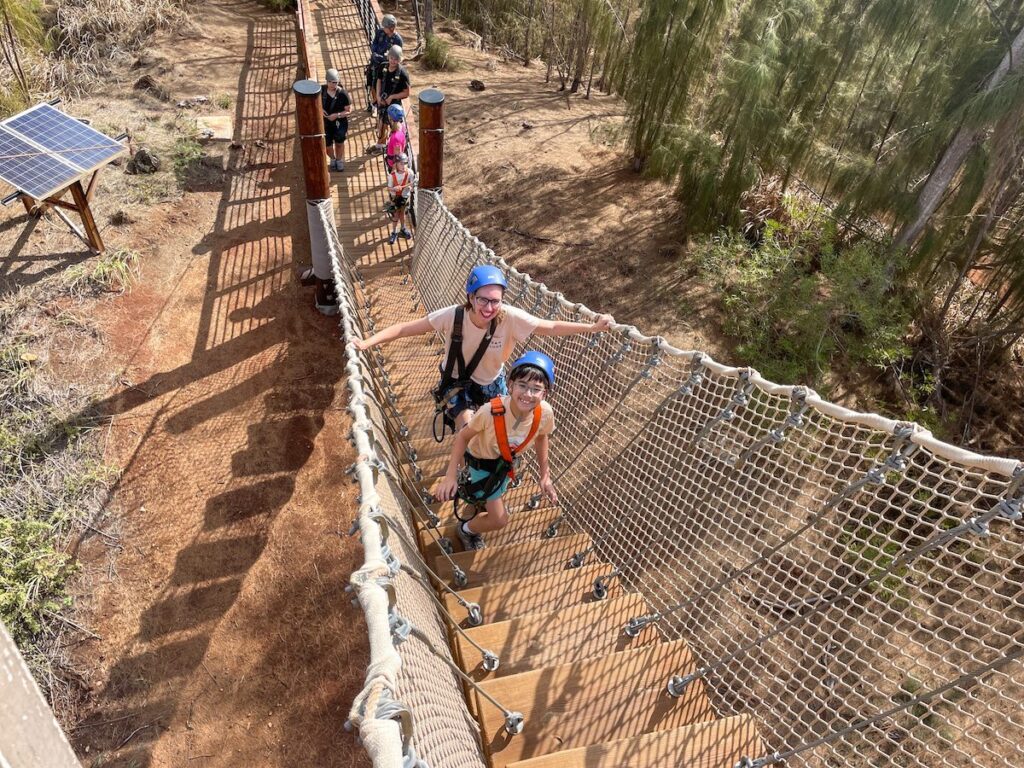
- Cross these wobbly sky bridges that make your stomach flip
- Do two rappels (which I was nervous about but ended up loving)
- Walk across floating bridges
The best part though: you’re ziplining over an actual working farm. Not random jungle.
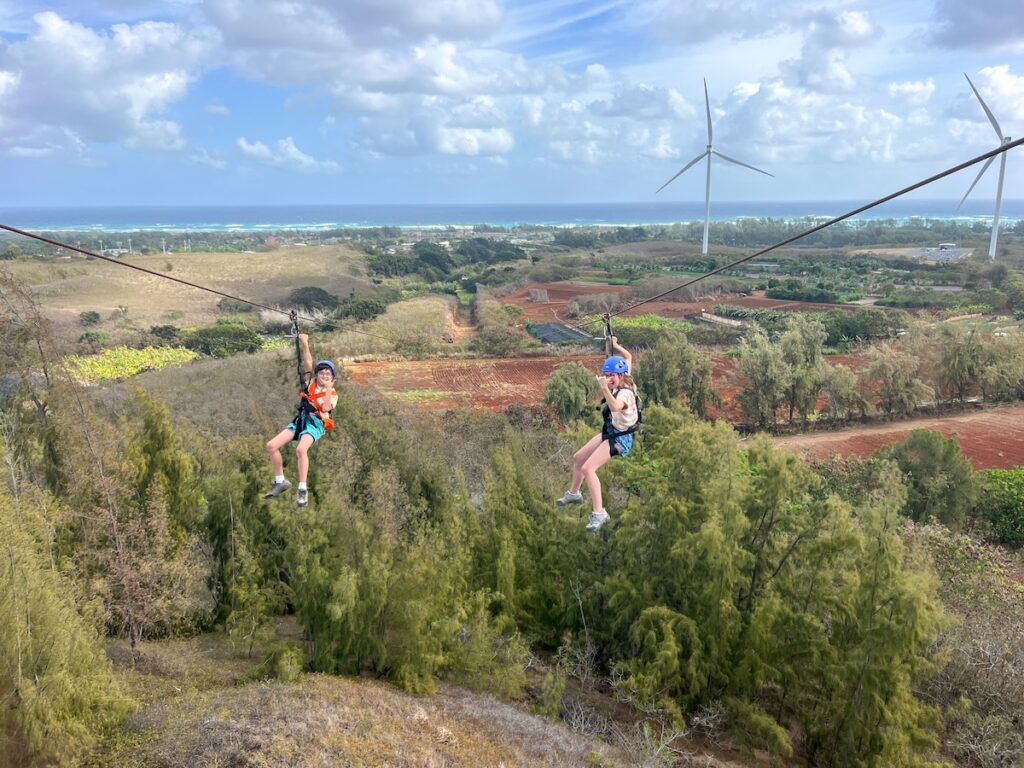
You can see rows of crops below you, and then when you look up there’s the North Shore beaches and Ko’olau Mountains.
The guides know so much about the area’s history and the farm, so you’re learning stuff the whole time.
They also give you fresh fruit from the farm to try during the tour. The apple bananas were incredible. My son ate like three.
The Drive (Yeah, It’s Long, But Hear Me Out)
Listen, I’m not going to sugarcoat this.
From Waikiki, it took us 90 minutes in the morning. From Disney Aulani, plan for an hour. If you’re staying at Turtle Bay, you’re golden because it’s only 10 minutes.
That’s a chunk of your vacation morning. I get it.
But we’ve been to Oahu enough times that I knew the drive would be beautiful, and we could hit food trucks and beaches on the way back.
Plus, if you’re planning to spend any time on the North Shore anyway (which you should because it’s amazing), this works perfectly.
If you really don’t want to drive, they offer transportation from Waikiki. It’s $30 extra per person and they pick up at Ross Dress for Less on Seaside Avenue at 8:45am Monday through Saturday.
You can add that when you book through Viator or Get Your Guide.
We drove ourselves because we wanted to explore the North Shore after, but the shuttle option is there if you want it.
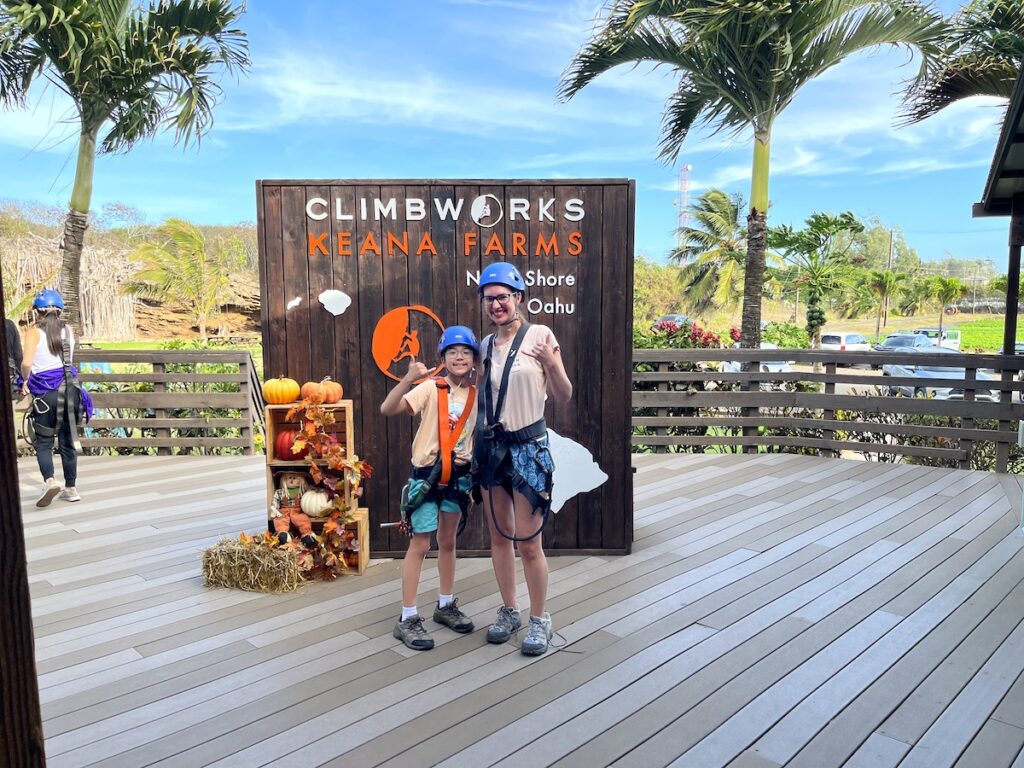
What It Costs and What to Expect When You Arrive
Right now it’s around $200 per person including taxes. Kids 5 and up can do it, which is pretty great for families.
They want you there 30 minutes before your tour starts.
This isn’t them being picky, they actually need that time to weigh everyone (it’s a safety thing, they’re super discreet about it), get you checked in, and make sure you’ve signed the waiver.
We did ours online beforehand which saved a few minutes.
They have these small lockers where you can put your phone, wallet, and car keys. The lockers are pretty tight but they fit the essentials. Parking is free which is nice.

One thing I wish I’d known: when we were checking in, they offered 10% off their photo package if we ordered it right then.
I said yes and I’m really glad I did because the guides took amazing photos of us throughout the whole experience. Way better than trying to take selfies while harnessed up.
Oh and use the bathroom during check-in. There are NO bathrooms once you’re on the tour and you’re out there for almost 3 hours.
Things I Wish Someone Had Told Me Before We Went
My biggest regret: I left my phone in the locker. A couple other moms on our tour had their phones in waterproof pouches with neck straps, and they got SO many good videos of their kids.
The guides take great photos, but there’s something about capturing your own kid’s reaction when they’re flying through the air, you know?

They don’t make you wear gloves on this tour, so using your phone is actually easy. I just didn’t think of it. Next time I’m 100% bringing mine in one of these straps.
The other thing that surprised me (in a good way): they don’t make you handbrake at all.
On a lot of zipline tours, you have to use your hand to slow yourself down and I always stress about that.
These guys have it set up so the system does all the braking for you. You literally just hold on and enjoy the ride.
My son and I both didn’t make it all the way across a few times because of wind, and they had to come get us with this pulley thing.
I was so embarrassed the first time, but the guides were like “this happens all the time, it’s totally normal.” They didn’t make a big deal out of it at all.
We had three guides with us the whole tour and they were all so fun to talk to. They shared all these stories about the area and Hawaiian history.
One of them even spotted some kind of rare bird and pointed it out to us. My son was obsessed.
Age and Weight Requirements (the Actual Current Rules)
Kids need to be at least 5 years old. If they’re under 70 pounds, they can ride tandem with a guide or with a lightweight sibling, but they can still do it.
For adults: if you’re 5’10” or taller, you need to weigh under 270 pounds. If you’re shorter than 5’10”, it’s 250 pounds. Nobody over 6’8″ can participate.
These aren’t random numbers. They’re based on how the engineering of the ziplines works and they’re serious about safety. They weigh everyone at check-in but they’re super discreet about it.
Also, kids under 15 need to have an adult on the tour with them. If you’re bringing multiple young kids, they recommend having more than one adult in your group.
Why We Loved It (and Why My Son Wanted to Go Again Immediately)
I’ll be honest with you: I’m kind of a chicken when it comes to adventure stuff. I’ve done ziplines before but I still get nervous every single time.
Standing on that first platform, looking at how far the line went, I was already second-guessing myself.
But the three guides we had were SO good at reading people.
They could tell I was nervous and they just kept cracking jokes and telling stories, keeping my mind off the whole “I’m about to launch myself off a platform” thing.
By the third line I wasn’t even nervous anymore. I was actually having fun.
My son ended up ziplining next to a couple other kids who were around his age.
At one point they were all racing to see who could go the fastest and there was so much laughing and trash-talking.
That’s what made it special, you know? It wasn’t just an activity we were checking off a list. We were actually having this really fun experience together.
The ATV ride up to the ridge at the beginning was bumpy and my son thought that was hilarious. The sky bridges were wobbly in this thrilling way.
And those rappels? I was not expecting to like those but they were actually really cool.
When we got back to the parking lot, my son literally asked if we could do it again. Like immediately. That’s how you know it was good.
What I really appreciated: this never felt like they were rushing us through. The guides took time to explain the history of the area, point out plants and birds, make sure everyone was comfortable.
It felt way more personal than I expected for a tour activity.
What to Wear (Keep It Simple)
T-shirt and shorts work great. Closed-toe shoes are required (no flip-flops or sandals). Don’t wear jewelry that could fall off or get caught on something.
That’s really it. Don’t overthink this part.
If you want your own photos beyond what the guides take, bring your phone with one of these straps so it stays secure.
And bring reef-safe sunscreen because you’ll be in the sun for a few hours. Hawaii takes reef protection seriously and using reef-safe products actually matters.
Make It a Full North Shore Day
You’re already driving up there, so plan to stay for a while. We hit Waimea Bay after our zipline tour and then stopped at Giovanni’s food truck for lunch. Made the whole day feel worth it.
I’ve written a bunch about the North Shore if you want more ideas: best North Shore beaches, North Shore hikes, best food trucks, and everything else worth doing up there.
Booking This Thing
Book ahead. They fill up fast, especially during summer and spring break.
You can book on the CLIMB Works website, or through Viator or Get Your Guide.
They have a 48-hour cancellation policy, so if something comes up you can get a refund as long as you cancel two days before.
The only exception is if THEY cancel due to weather (thunder, heavy rain, super high winds), then they’ll reschedule you or refund you.
If You Need Help Planning Your Whole Oahu Trip
Planning a Hawaii vacation gets overwhelming fast. Trust me, I know.
That’s literally what I do as a Hawaii travel expert and even I still sometimes feel like there’s too many options.

If you want someone to just tell you exactly where to go, what to do, and how to fit it all together without stressing about it, I do personalized Hawaii travel consultations.
We’ll build an itinerary based on what your family actually likes to do and how much you want to spend.
I also have an Oahu Travel Guide with day-by-day itineraries, where to stay by area, kid-friendly restaurant recommendations, and all the insider stuff I’ve learned from visiting so many times.

Or if you’re just starting and want some free help, grab my FREE 7-Day Email Course: How to Plan a Trip to Oahu. I walk through the whole planning process step by step.
For more Hawaii tips, check out my podcast Hawaii Travel Made Easy where I answer questions from families planning their trips.
So Is It Worth It?
Yes. We’re absolutely doing it again next time we’re on Oahu.
The views were stunning, the guides made it fun instead of scary, and it was really well-organized. No standing around waiting, no confusion about what to do next, no “um actually we need you to…” moments.
If you’re at all interested in doing something adventurous on Oahu, this is the one I’d recommend. Even if you’re staying in Waikiki and the drive seems long.
Ready to book? Here’s where to get started.